Intro
A VPN (Virtual Private Network) is a tool that creates a secure connection between your device and the internet. It hides your online activity and protects your data from being seen by others.
Installing a VPN on your home network can have multiple advantages that you should consider.
- Remote access to Home Network: By setting a VPN on your Home server, you can securely connect to your Home network from anywhere in the world. Whether you need to access files on a home disk, use your home IP address for certain services that are not exposed, or manage IoT devices remotely, a VPN provides a reliable and fast connection.
- Enhanced security and privacy: Using your Home VPN ensure your connexion remains private and encrypted, allowing you to connect to untrusted sources of network like public wifi with peace.
There is a lot of VPN providers available but on this guide I will be focused on WireGuard VPN.
WireGuard is a new VPN generation, really easy to setup, with a small codebase making it easier for developers to audit and verify. Also, this VPN has minimal ressources requirement, meaning you can use it on a small computer like a Raspberry Pi for example.
There are several common ways to install WireGuard VPN on Linux. In this guide, we’ll focus on using docker with the image created by linuxservers.io: linuxserver/wireguard due to its simplicity.
Prerequisite
Before we start, ensure you have the following prerequisites:
- A server or machine with Docker installed.
- Basic understanding of Docker concepts such as containers, images, and volumes.
- Docker Compose.
Configuration
Create a wireguard folder and move into it:
mkdir wireguard && cd wireguardAdd a docker-compose.yml file with the following content:
services:
  wireguard:
    image: lscr.io/linuxserver/wireguard:latest
    container_name: wireguard
    cap_add:
      - NET_ADMIN
      - SYS_MODULE
    environment:
      - PUID=1000
      - PGID=1000
      - TZ=Etc/UTC
      # replace with your domain name or public IP address
      - SERVERURL=domain.name
      - SERVERPORT=51820
      # create 3 peer configurations
      # you can name them using any string, as all names are compatible.
      - PEERS=peer1,peer2,peer3
      - PEERDNS=auto
      - INTERNAL_SUBNET=10.13.13.0
      # route all traffic through the VPN
      - ALLOWEDIPS=0.0.0.0/0
    volumes:
      - ./config:/config
      - /lib/modules:/lib/modules
    ports:
      - 51820:51820/udp
    sysctls:
      - net.ipv4.conf.all.src_valid_mark=1
    restart: unless-stopped
Note
In this example, we use
0.0.0.0/0asALLOWEDIPSto route all traffic through the VPN. To access only your local network, you can use192.168.1.0/24instead for example.
Start the WireGuard VPN with the following command:
docker compose up -dConnection
There are many ways to connect to the VPN, depending on your platform. On Linux, you can use wg-easy with the command line, or the WireGuard Android app.
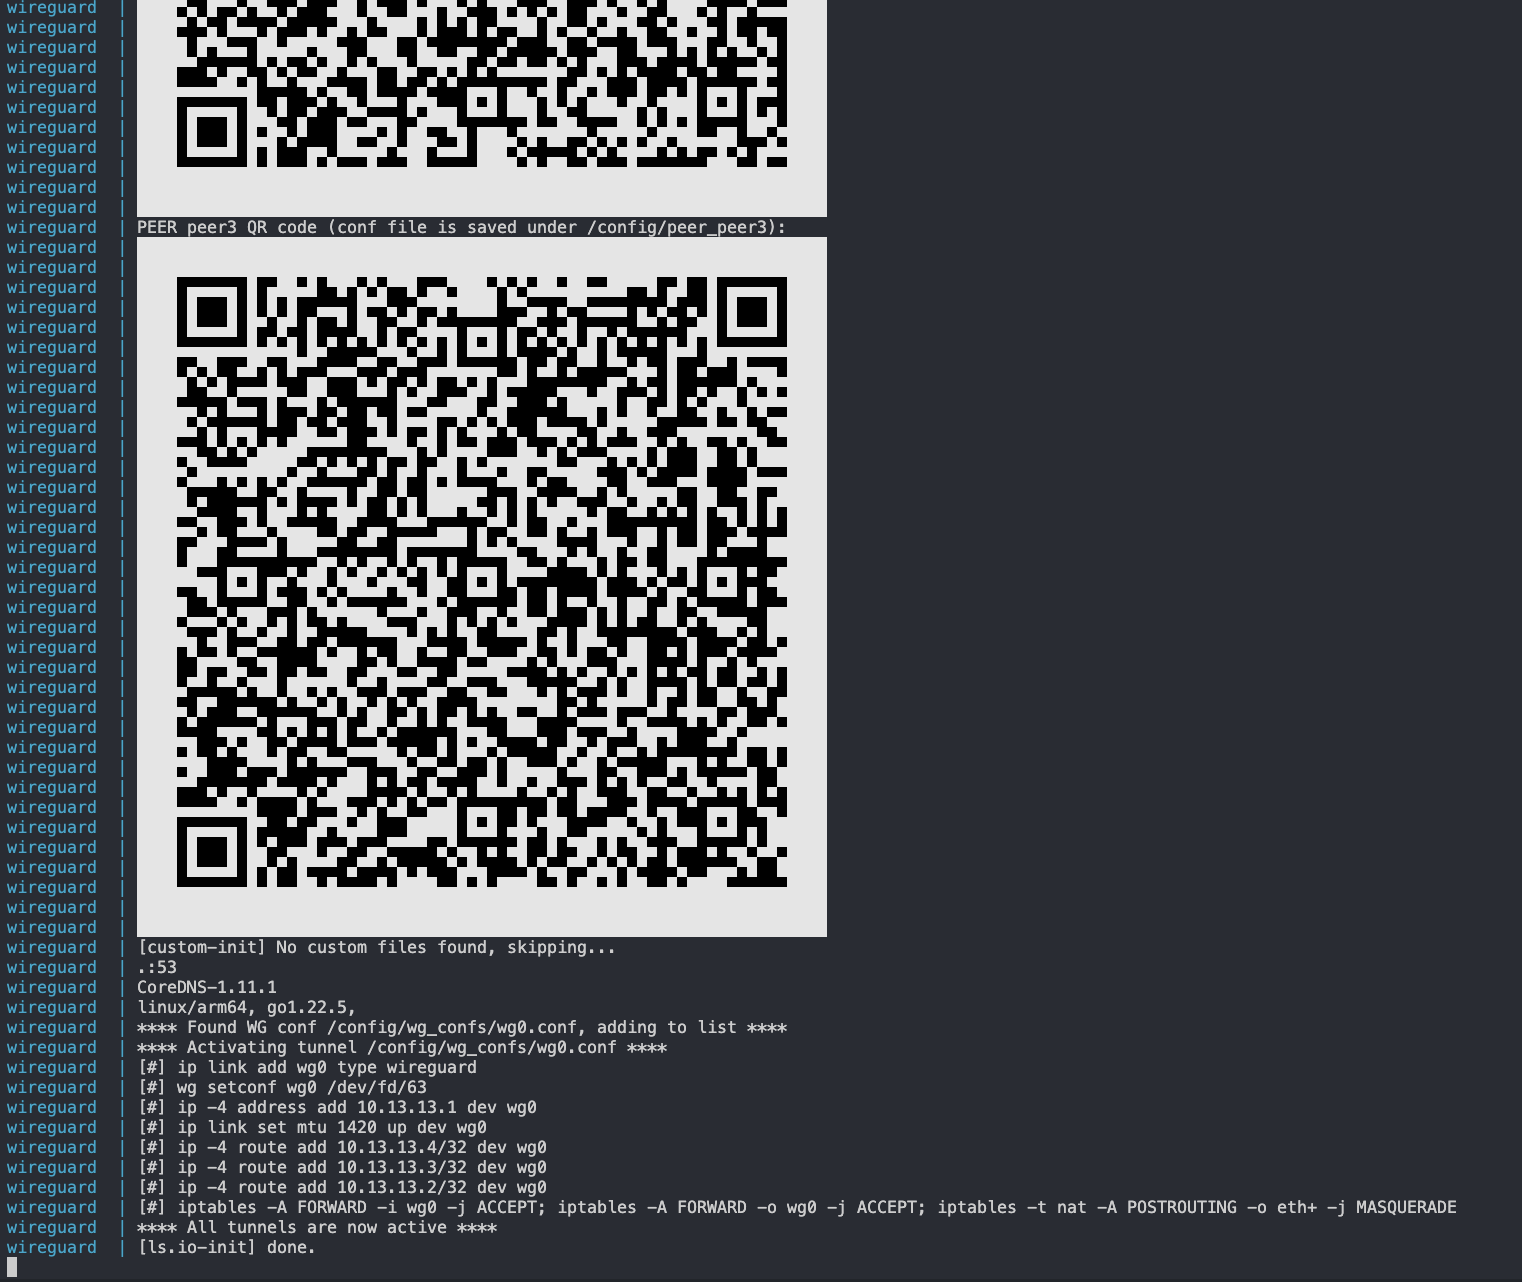
The easiest way to configure your device is by using the QR code generated by the Docker image. You can obtain it with the following Docker command:
docker compose logsYou should see one QR code per configuration.
If you want to configure it using the config file, you can get it on the config folder using the command:
cat config/peer_peer1/peer_peer1.confConclusion
WireGuard is an easy-to-setup VPN that enhances your privacy and lets you securely access your home network. It allows you to hide services, debug your server remotely, and protect yourself from the dangers of untrusted networks.
Resources
- Photo by Brett Sayles: https://www.pexels.com/photo/1597776/
- WireGuard website: https://www.wireguard.com/
- WireGuard Github: https://github.com/WireGuard
- Linuxservers wireguard image: https://docs.linuxserver.io/images/docker-wireguard/?h=#site-to-site-vpn